
To make a one-pot chickpea “tuna” melt that melts doubters, start by gathering all your ingredients like canned chickpeas, vegan mayo, and cheese, along with essential equipment. Prepare the chickpea mixture with herbs, spices, and flavorings, then cook it in one pot, layering cheese on top and melting it gently for that ooey, gooey texture. Finish with toppings and serve. If you keep going, you’ll discover tips and tricks to perfect this cheesy plant-based dish.
Key Takeaways
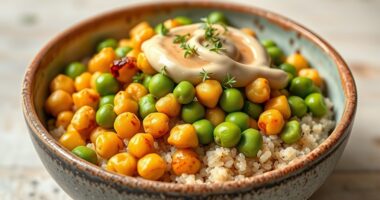
- Use canned chickpeas and vegan cheese to create a quick, flavorful, meltable filling in one pot.
- Incorporate seasonings like lemon juice, mustard, and herbs for a convincing tuna flavor.
- Assemble the sandwich in the same pot and melt cheese over low heat for a gooey, cohesive melt.
- Control heat carefully to prevent burning, ensuring a smooth melt that satisfies skeptics.
- Reheat easily with minimal loss of texture, making it a practical, cheesy plant-based comfort dish.

Vegan Magic Cheese Sauce (6oz powder makes 14oz), Cheddar Cheese Powder for Vegan, Plant-Based Cheese, Salty Crackers Dairy Free, Low Sodium
Our vegan cheese powder is made entirely from 100% plant-based ingredients and contains no milk powder or animal…
As an affiliate, we earn on qualifying purchases.
As an affiliate, we earn on qualifying purchases.
Gathering Your Ingredients and Equipment
Before you start cooking, gather all the necessary ingredients and equipment. Having everything ready makes the process smoother and more enjoyable. When it comes to ingredient swaps, consider using tahini instead of mayonnaise or adding chopped pickles for extra zest. Keep your pantry stocked with canned chickpeas, vegan mayo, and your favorite spices. For equipment essentials, a good chef’s knife, a sturdy cutting board, and a mixing bowl are must-haves. If you prefer a more streamlined approach, a food processor can help blend the chickpeas quickly. Don’t forget a baking sheet or skillet for toasting the bread. Preparing your ingredients and tools beforehand guarantees you won’t interrupt the flow of cooking, making the entire process more efficient and fun. Additionally, understanding the importance of Best Beaches in your kitchen can help you better assess the visual appeal of your finished dish.

Goya Foods Chick Peas, Garbanzo Beans, 15.5 Ounce (Pack of 8)
PLUMP CHICKPEAS | These creamy and delicious garbanzo beans are perfectly whole and plump to bring out the…
As an affiliate, we earn on qualifying purchases.
As an affiliate, we earn on qualifying purchases.
Preparing the Chickpea Mixture

Start by choosing the right chickpeas—canned or cooked from scratch—so your mixture has the best texture. Then, add your favorite flavorings, like lemon juice, mustard, and spices, to give it that signature tuna-like taste. Taste as you go to guarantee the flavors are balanced and to your liking. Incorporating educational toys into mealtime routines can also make the experience more engaging for kids.
Choosing the Right Chickpeas
Choosing the right chickpeas is essential for creating a smooth, flavorful chickpea “tuna” mixture. Your choice impacts texture, taste, and ease of preparation. When selecting, consider chickpea varieties, as some are softer and better suited for mashing. Canned chickpeas are convenient, already cooked, and tend to be softer, making them ideal for a creamy blend. Fresh chickpeas, on the other hand, require cooking and may have a firmer texture, which can be harder to mash smoothly. High critical acclaim and box office success can also indicate quality and flavor in certain varieties.
- Opt for canned chickpeas for convenience and softness
- Rinse thoroughly to remove excess salt and canning liquid
- If using fresh, cook until tender before mashing
- Choose organic or non-GMO options when possible
- Selecting chickpeas with uniform size and color can improve texture consistency and presentation.
Flavoring the Mixture
How do you guarantee your chickpea mixture is bursting with flavor? Start by choosing the right spice blends—paprika, cumin, or smoked paprika add depth, while a pinch of cayenne brings heat. Incorporate fresh herb choices like parsley, dill, or cilantro to brighten the mixture. Mash the chickpeas thoroughly to create a creamy base, then stir in your spice blends and herbs. A splash of lemon juice or vinegar enhances the flavors and adds a touch of acidity. Don’t forget a little salt and pepper to tie everything together. Tasting as you go helps you adjust seasonings to your preference. Additionally, incorporating organization and storage strategies can help you keep your ingredients fresh and accessible, ensuring consistent flavor in your dishes. With these flavoring tips, your chickpea “tuna” will be irresistibly tasty and well-seasoned.

Hellmann's Vegan Dressing and Spread Vegan 3 Ct for a Rich, Creamy Plant-Based Alternative to Mayo Same Great Taste, Plant Based, Free From Eggs 11.5 oz
Hellmann's Vegan Dressing & Spread is our plant-based alternative to the traditional Hellmann's mayonnaise – we’ve removed the…
As an affiliate, we earn on qualifying purchases.
As an affiliate, we earn on qualifying purchases.
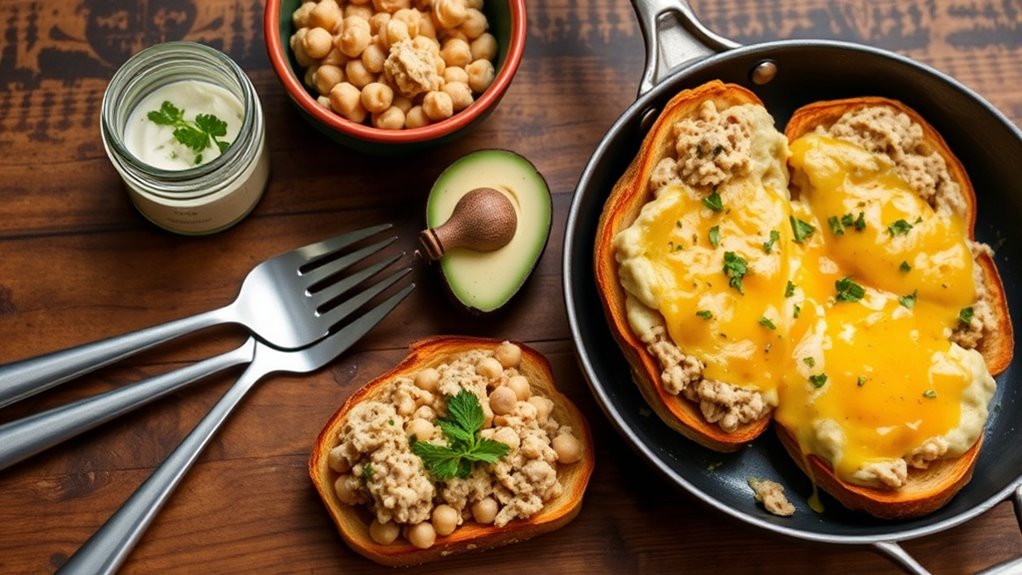
Assembling the Sandwiches in One Pot
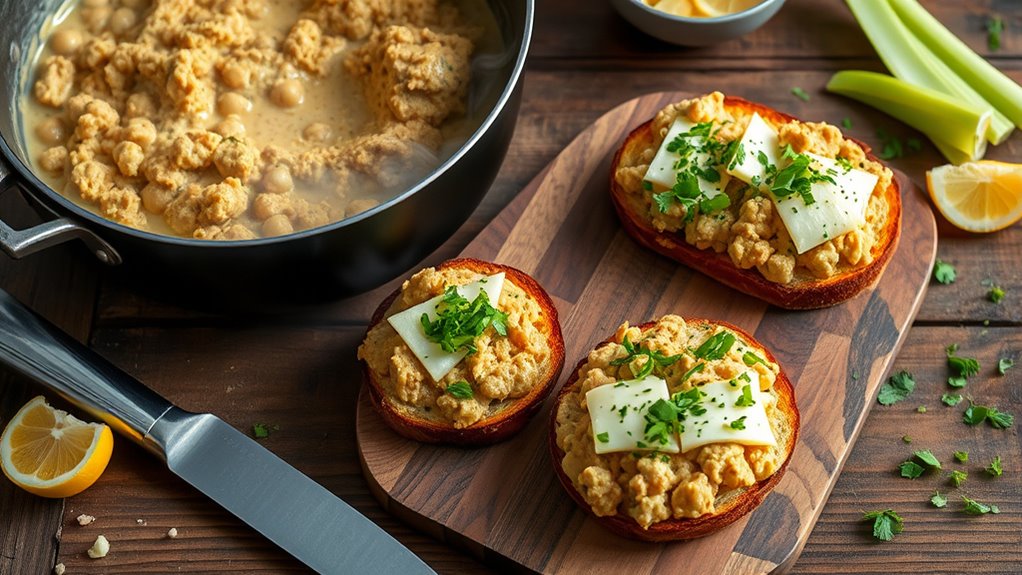
Once the chickpea mixture is ready, assemble the sandwiches directly in the same pot to save time and keep cleanup minimal. Use the pot lid technique by placing a lid over the assembled sandwiches to help melt the cheese evenly. Choose your cheese wisely—melty options like cheddar, Monterey Jack, or mozzarella work best. Layer the mixture between slices of bread or on a baguette, then add cheese on top. Keep a close eye to prevent burning, and use the lid to trap heat and encourage melting. You can also add extra toppings like sliced tomatoes or pickles before closing the lid. This method ensures everything stays contained and heats uniformly, making your sandwich assembly quick, easy, and mess-free. Cookies used in this process can help improve your browsing experience and ensure the best possible results. Additionally, understanding time zones can be helpful when coordinating meals or sharing recipes across different regions. Being aware of divorce laws in your area can also be beneficial if you are considering a separation or related legal steps in your personal life. Incorporating holistic approaches to health can further enhance your overall wellness routine.

Outset Burger Cheese Melting Dome for Grill, Griddle, and Stovetop, Stainless Steel
MELT CHEESE FASTER: Whether it is a burger, grilled cheese, quesadilla, or panini this stainless steel melting dome…
As an affiliate, we earn on qualifying purchases.
As an affiliate, we earn on qualifying purchases.
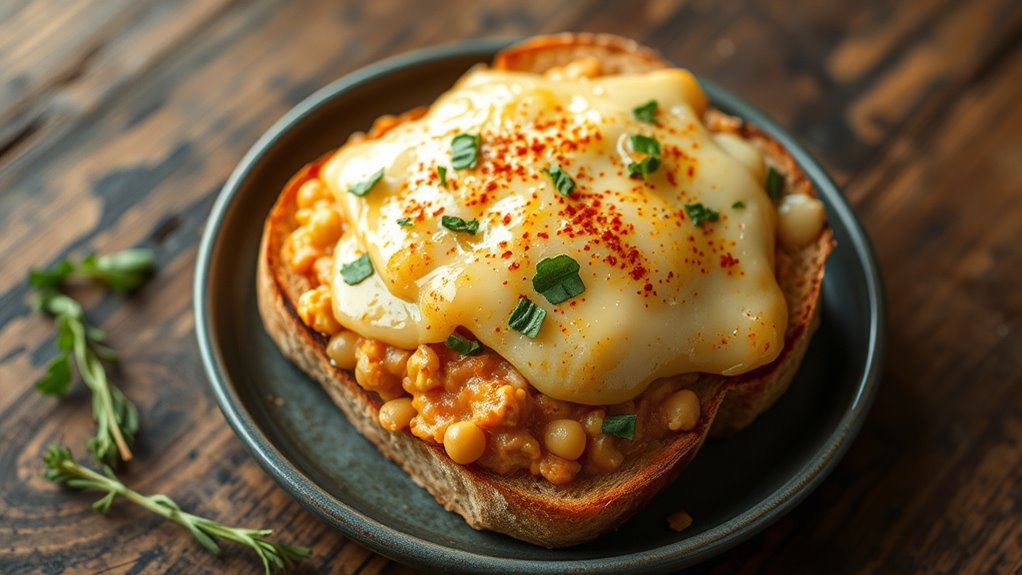
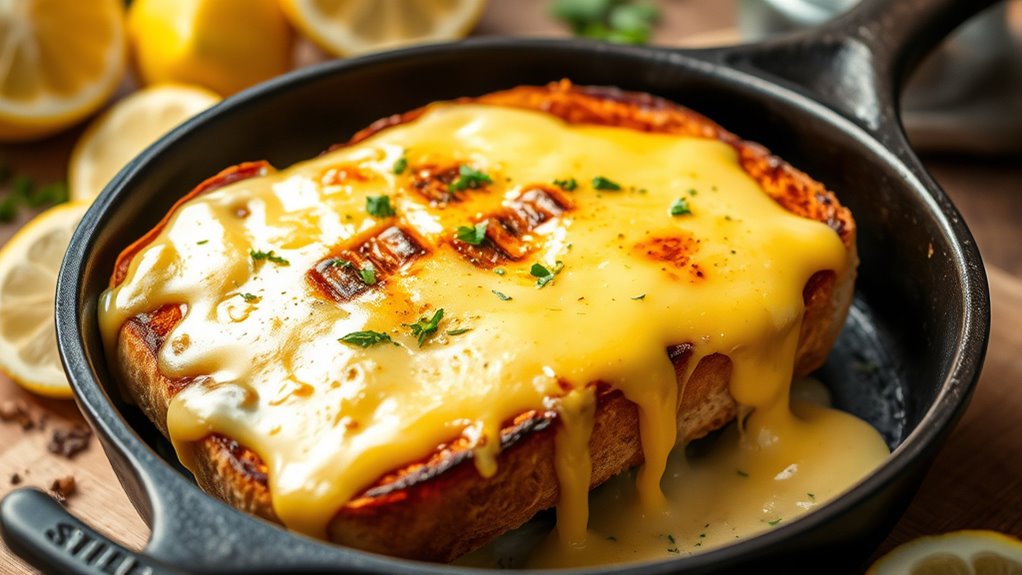
Melting the Cheese and Achieving the Perfect Texture
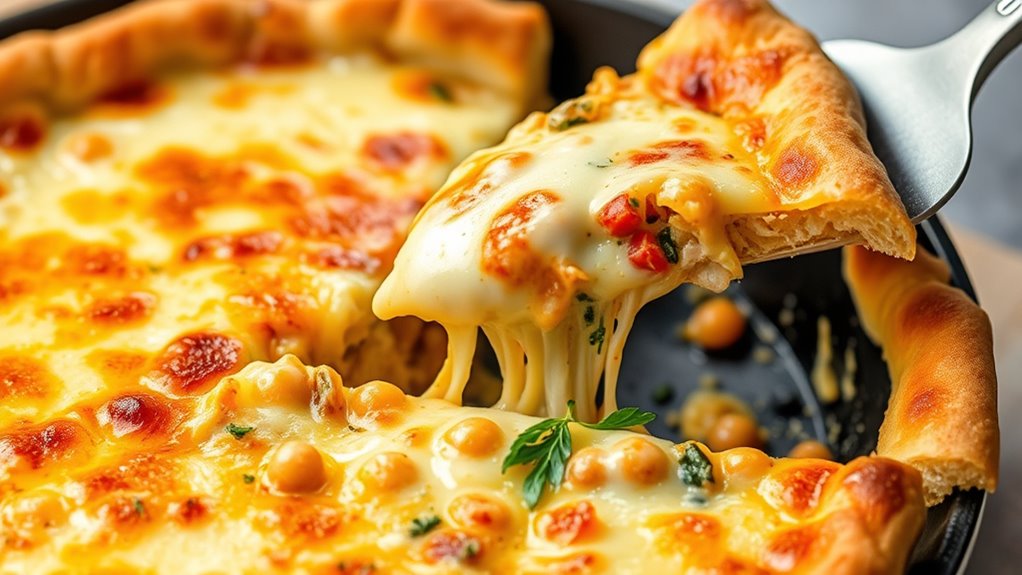
After assembling your sandwich in the same pot, it’s time to focus on melting the cheese to get that gooey, irresistible texture. To achieve ideal cheese melting, keep the heat low and cover the pot briefly. This traps heat and helps the cheese melt evenly without burning or becoming greasy. Stir gently if needed, but avoid overmixing, which can make the cheese stringy. The goal is to create a smooth, cohesive layer that melds seamlessly with the chickpea mixture. The right technique ensures the cheese reaches the perfect texture—melting just enough to be gooey, but not so much that it becomes oily or loses its structure. Heat control is essential for achieving a consistent, mouthwatering melt. With patience and careful heat control, you’ll get that luscious, melt-in-your-mouth finish every time.
Serving Suggestions and Customizations
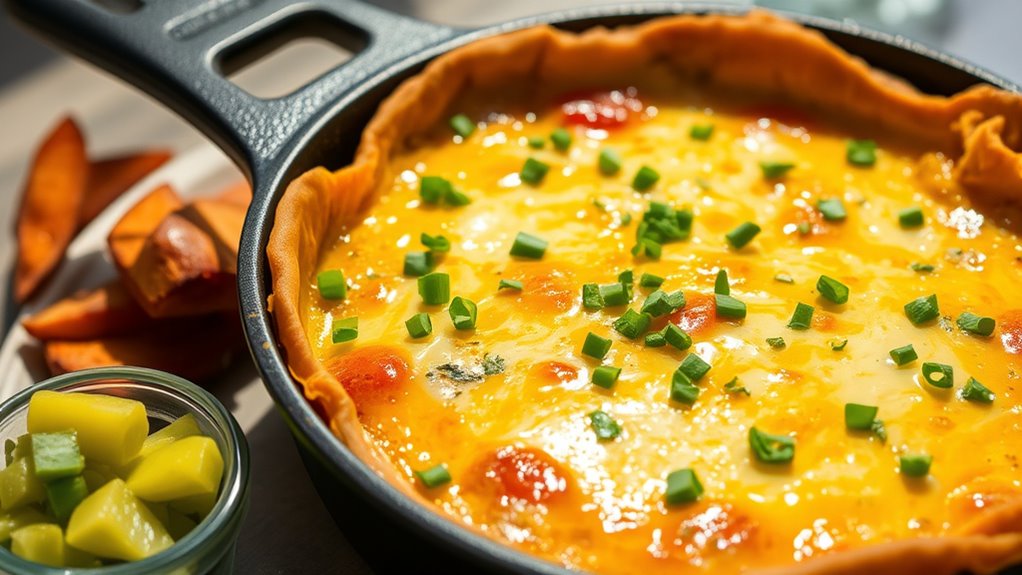
Thinking about serving your chickpea “tuna” melt? You can pair it with a simple side salad or your favorite chips to complement the flavors. Feel free to customize with different bread options, cheeses, or additional toppings to make it just how you like it. For an extra touch of Italian-inspired flair, consider adding a drizzle of olive oil or balsamic vinegar to enhance the flavors.
Flavor Pairings and Sides
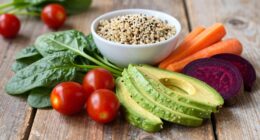
To enhance the flavors of your chickpea “tuna” melt, consider pairing it with fresh, crispy vegetables like sliced cucumbers, cherry tomatoes, or radishes, which add an invigorating crunch. These vegetables balance the richness and provide a revitalizing contrast. For drinks, light white wines or sparkling water with a twist complement the dish well. You can also serve it alongside a simple side salad—think mixed greens, arugula, or spinach—to add freshness. For a heartier pairing, try roasted sweet potatoes or grilled zucchini. To elevate the meal, select pairing wines that highlight the dish’s tangy and savory notes. Incorporating well-drained soil and full sun conditions for growing fresh herbs or vegetables can further enhance your meal’s flavor profile. Additionally, choosing seasonal produce can maximize freshness and flavor. Utilizing responsive design elements ensures that your presentation adapts seamlessly across devices, enriching the overall dining experience. These options create a well-rounded, satisfying experience that appeals to a variety of tastes.
Customization Tips and Variations
You can easily customize your chickpea “tuna” melt to suit your taste preferences by adding different mix-ins or toppings. Experiment with spice combinations like smoked paprika, cumin, or chili powder to enhance flavor. For cheese options, choose from sharp cheddar, Swiss, or pepper jack for varied melt textures and tastes. To elevate your sandwich, consider adding fresh herbs, sliced pickles, or a dash of hot sauce. Incorporating farmhouse-inspired decor or decorations can make your meal more festive for the occasion.
Tips for Making It Ahead and Reheating
Making this chickpea “tuna” melt ahead of time is simple, and it can save you plenty of hassle during busy days. To do so, store the mixture separately from the bread to prevent sogginess. When you’re ready to serve, use these make ahead tips and reheating methods for best results:
- Keep the chickpea mixture in an airtight container in the fridge for up to 3 days.
- Reheat using a skillet over medium heat, stirring occasionally until warmed through.
- Alternatively, microwave on 50% power in 30-second intervals until hot.
- For a crispier top, assemble the melt and broil it briefly after reheating.
Following these tips ensures your melt remains tasty and satisfying, even when made in advance.
Nutritional Benefits and Dietary Considerations
Preparing the chickpea “tuna” melt ahead of time not only saves time but also offers a nutritious, plant-based option packed with health benefits. Chickpeas provide a solid protein content, making it a satisfying meal for vegetarians and vegans. It’s also naturally low in saturated fat and high in fiber, supporting digestion and heart health. If you have dietary restrictions, this dish can easily be adapted—using gluten-free bread or avoiding added ingredients that don’t suit your needs. Since it’s plant-based, it’s suitable for those following vegetarian or vegan diets. Plus, chickpeas deliver essential nutrients like folate, iron, and magnesium. Overall, this melt combines great nutrition with flexibility, helping you meet your dietary goals without sacrificing flavor or satisfaction.
Variations to Suit Your Taste Preferences

To tailor the chickpea “tuna” melt to your taste, try experimenting with different flavor add-ins and toppings. You can customize spice combinations to bring out unique flavors, such as adding smoked paprika for depth or cayenne for heat. Dairy alternatives like vegan mayo, plant-based cheese, or non-dairy yogurt work well to keep it vegan and creamy.
Consider these options:
- Mix in chopped pickles or capers for tang.
- Use hot sauce or sriracha for a spicy kick.
- Top with sliced avocado or vegan cheese for richness.
- Incorporate fresh herbs like dill or parsley for brightness.
Feel free to adjust seasonings and toppings to match your preferences, making the dish truly your own.
Frequently Asked Questions
Can I Use Canned Chickpeas Instead of Dried?
Yes, you can use canned chickpeas instead of dried. Canned chickpeas are already cooked, so you just need to rinse and drain them well before using. Dried chickpeas require soaking and longer cooking, but canned ones save time. Keep in mind, canned chickpeas tend to be softer, so mash them gently to achieve the desired texture. Overall, canned chickpeas work perfectly as a quick substitute.
Is This Recipe Suitable for Vegan Diets?
Yes, this recipe is suitable for vegan diets. It uses plant-based alternatives like chickpeas, which are naturally vegan, and can be made dairy-free with simple options like vegan mayo or nut-based spreads. You’ll find it’s a great dish for those seeking dairy-free options or wanting to stick to plant-based alternatives. Just make certain all ingredients you choose are vegan-certified, and you’re good to go!
How Long Does the Dish Stay Fresh in the Fridge?
Think of your leftovers as a delicate flower that needs care. You can store this dish in the fridge for up to 3-4 days. For maximum freshness, keep it in an airtight container and avoid opening it too often. Use these storage duration and freshness tips to enjoy your vegan chickpea “tuna” melt at its best, ensuring flavors stay vibrant until you’re ready to indulge again.
Can I Substitute Other Cheeses for Melting?
You can definitely try cheese alternatives or vegan options for melting in your dish. Look for plant-based cheeses made specifically to melt well, like vegan mozzarella or cheddar. Some nut-based cheeses or soy-based products also melt nicely. Keep in mind, the flavor and melting quality might differ from traditional cheese, but experimenting can bring delicious new twists to your chickpea “tuna” melt.
What Are Some Gluten-Free Bread Options?
Think of gluten-free bread options as a treasure chest waiting to be explored. You can choose gluten-free bread, which is widely available in stores, or try bread alternatives like lettuce wraps, rice cakes, or portobello mushrooms for a low-carb option. These alternatives give you flexibility and flavor without gluten, so you can enjoy your meal worry-free. Experiment and find what best suits your taste and dietary needs!
Conclusion
Remember, Rome wasn’t built in a day, and neither is a perfect sandwich. With this one-pot chickpea “tuna” melt, you’ve got a quick, tasty meal that proves simple ingredients can create something extraordinary. So, don’t be afraid to get creative and make it your own. As the saying goes, “The proof of the pudding is in the eating”—so give it a try, enjoy every bite, and watch skeptics become believers!