
To grow microgreens on your windowsill and harvest in just 10 days, start with a shallow tray filled with moist, nutrient-rich soil. Sow your seeds evenly, press gently, and cover lightly with soil. Keep the soil consistently moist and provide plenty of indirect sunlight or grow lights. guarantee good air circulation to prevent mold. With proper care, your microgreens will sprout in about a week and be ready to harvest shortly after—continue exploring to master the process.
Key Takeaways
- Use a shallow tray with drainage holes, filled with organic soil, and keep it evenly moist before sowing seeds.
- Sow seeds evenly on moist soil, lightly cover or press them in, then water gently to ensure contact with damp soil.
- Provide plenty of indirect sunlight or grow lights, ensuring good air circulation to prevent mold.
- Maintain consistent moisture by watering once or twice daily, adjusting based on soil dryness and light exposure.
- Harvest microgreens when they are a few inches tall, usually around 10 days, for optimal freshness and nutrition.
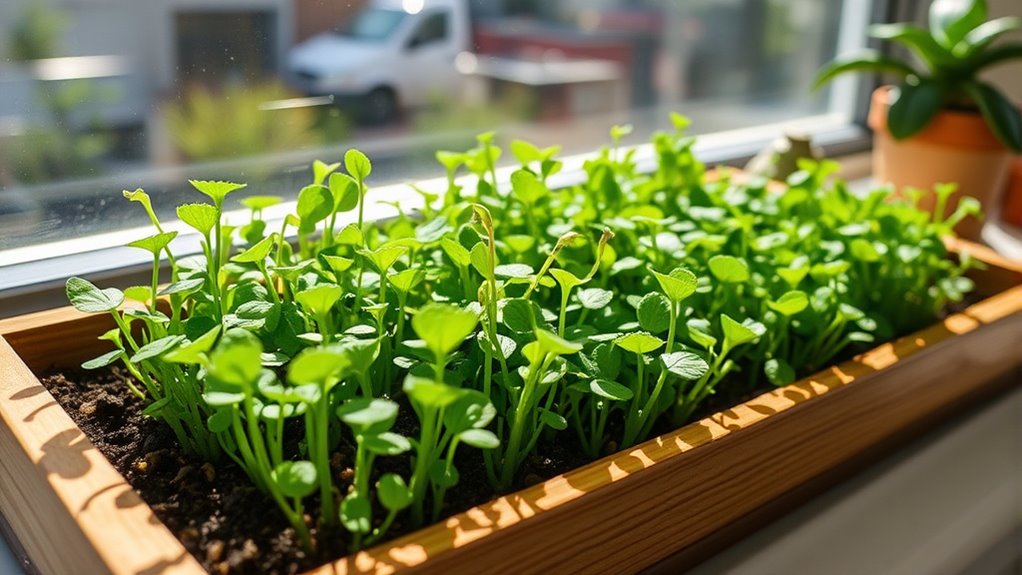
Growing microgreens on a windowsill is an easy and rewarding way to enjoy fresh, nutritious greens year-round. To get started, you need to focus on proper soil preparation. Choose a shallow tray with drainage holes and fill it with high-quality, organic potting soil. Spread the soil evenly, about 1 to 2 inches deep, and gently press it down to eliminate air pockets. This creates a firm, even base that supports healthy root development. Before sowing your seeds, lightly moisten the soil with a gentle spray of water, ensuring it’s damp but not soaked. This initial watering kickstarts germination and helps the seeds settle into the soil.
Start your microgreens with a shallow tray, high-quality soil, and gentle watering for healthy sprouting.
Once your soil is prepared, you can sow your microgreen seeds evenly across the surface. Use your fingers or a spreader to distribute them uniformly, keeping them close but not overlapping. Cover the seeds lightly with a thin layer of soil or simply press them into the surface, depending on the seed type. After planting, give the tray a gentle watering to keep the soil moist. This is vital because microgreens thrive in consistently damp conditions, but overwatering can lead to mold or rot. To prevent this, establish a regular watering schedule—watering once or twice a day, or whenever the soil feels dry to the touch, works well. Use a spray bottle or a fine watering can to deliver a gentle, even mist, avoiding displacing the tiny seeds.
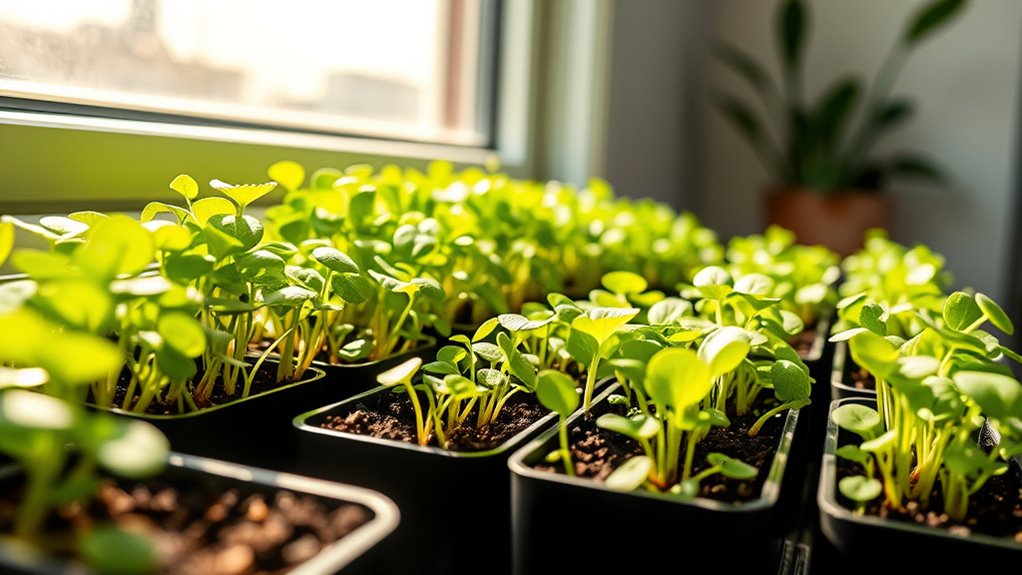
As your microgreens grow, monitor the moisture level carefully. Staying consistent with watering is key—you don’t want the soil to dry out completely or become waterlogged. Keep in mind that the amount of light your microgreens receive also affects how often you’ll need to water. Since they’re on a windowsill, make sure they get plenty of indirect sunlight. If natural light is limited, consider supplementing with a grow light to promote even growth and prevent legginess. Additionally, ensuring proper air circulation around your microgreens can help prevent mold and promote healthy growth.
Within about 10 days, you’ll notice your microgreens sprouting and reaching a few inches tall, ready for their first harvest. During this period, continue with your watering schedule, ensuring the soil stays moist but not soggy. Proper soil preparation and a consistent watering routine are the foundations of successful microgreens. These steps will guarantee your greens grow healthy and strong, providing a fresh harvest that’s both satisfying and nutritious. Growing microgreens on your windowsill becomes a simple, enjoyable practice when you pay attention to these key details.
Frequently Asked Questions
Can Microgreens Be Grown Year-Round Indoors?
You can grow microgreens indoors all year round, regardless of seasonal variations. Indoor gardening creates a stable environment, allowing you to enjoy fresh microgreens anytime. Just guarantee your windowsill gets enough light and maintain proper temperatures. By controlling light, humidity, and airflow, you can have a continuous supply of microgreens, making year-round indoor gardening an easy and rewarding way to enjoy nutritious greens without depending on the seasons.
What Are the Best Microgreen Varieties for Beginners?
This question is essential because choosing beginner-friendly microgreens can make or break your first harvest. Start with easy varieties like sunflower, radish, or broccoli—they’re almost foolproof! Use seed starting tips like moist soil and proper light. These microgreens boast diverse flavor profiles, from spicy radish to nutty sunflower, making them perfect for newcomers. Trust me, these are the best microgreen varieties to grow if you’re just starting out.
How Do I Prevent Mold on My Microgreens?
To prevent mold on your microgreens, focus on mold prevention by maintaining proper humidity control. Keep the growing area well-ventilated and avoid excessive watering, which raises humidity levels. Use a spray bottle to water lightly and only when the soil feels dry. Make certain there is good airflow around your microgreens and remove any moldy or dead leaves promptly. This helps create an environment less prone to mold growth, ensuring healthy, fresh microgreens.
Do Microgreens Require Fertilization During Growth?
Microgreens generally don’t need additional fertilization during growth, especially if you use nutrient-rich soil amendments or quality seed-starting mixes. These provide enough nutrients for healthy growth in just 10 days. However, if your soil lacks nutrients or you notice slow growth, you can add a diluted organic liquid fertilizer or nutrient supplements. Just be cautious not to overdo it, as microgreens absorb nutrients quickly and excess can cause issues.
How Should I Water Microgreens Without Overwatering?
To avoid overwatering your microgreens, follow these watering tips for good moisture control. Use a spray bottle or gentle watering can to lightly mist the soil, ensuring it stays moist but not soaked. Check daily by feeling the top layer; if it feels dry, water lightly. Avoid overwatering, as excess moisture can cause mold and root rot. Consistent, careful watering promotes healthy, vibrant microgreens.
Conclusion
Now that you’ve mastered growing microgreens on your windowsill, you’re basically a superhero of fresh, vibrant greens. In just 10 days, you can produce enough tiny, nutritious plants to feed an army—or at least impress everyone at your next dinner. With a little care, your windowsill will become a lush jungle of flavor and health, turning even the dullest kitchen into a farm of unstoppable green goodness. Get ready to conquer the microgreens universe!